Here are the steps in our design process.
STEP 1: WHAT IS A BRAND?

To help us define the concept of brand we completed the following:
|
|
STEP 2: GET YOUR PACKAGE

Package Assignment
You will receive a package at random and get to imagine a new product for which you will design a logo and package wrapper. |
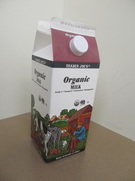
For my example I will use a milk carton. Whatever product I might imagine will go inside of this package should be able to be poured.
|
STEP 3: LIST OF PRODUCTS

Create a list of 10 products which you could imagine being sold in the package you were assigned?
Guiding Questions:
Once you have listed out 10 ideas, choose the one that you would like to design a logo and wrapper for in this project.
Guiding Questions:
- What form of matter would best suit the package you were assigned (solid, liquid, gas)?
- Who do you want to market your product toward? This may help narrow down your search?
- Think of something crazy! Sky is the limit.
Once you have listed out 10 ideas, choose the one that you would like to design a logo and wrapper for in this project.
STEP 4: MINDWEB

Create a mindweb with all of the ideas that you can think of which connect to the product you have chosen to fill your package.
STEP 5: LIST OF BRAND NAMES

Create a list of 25 possible brand names for the product you have chosen.
Once you have listed out 25 ideas, choose the one that you would like to be the brand name for your product.
Once you have listed out 25 ideas, choose the one that you would like to be the brand name for your product.
STEP 6: LOGO SKETCHES ROUND 1
Sketch at least 16 unique logo designs
At this stage of logo design you should be letting yourself put down any crazy ideas that come to your mind.
At this stage of logo design you should be letting yourself put down any crazy ideas that come to your mind.


STEP 7: ROUGH SKETCH OF WRAPPER

Drar out your ideas for your package wrapper, this is your first of two sketches so put any initial ideas you have for your wrapper, don't worry too much about making it look pretty.
STEP 8: LOGO SKETCH ROUND 2

After you have received feedback from your peers on your first set of logo sketches create 9 more designs. This time focus on including the features that you know you want to include in your final logo design into each of your sketches and simply adjust minor aspects of each sketch, such as position and size. Your nine sketches in round 2 should resemble one another.
STEP 9: LOGOS IN ILLUSTRATOR
Logo Design in Illustrator:
Using the tools your learned, trace your best design elements and combine them to make your final logo.
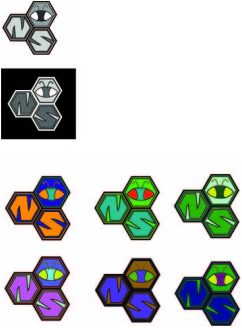
Copy and paste the wireframe logo you created onto new layers to create multiple copies. There are several different logo designs you must create. To begin with focus on making your design work well using only black and white, then move on to adding color to your designs
Black and white and grayscale versions
Colored Versions
When you are finished with your design you will export your final color copy as a PNG file.
Click here to view our Illustrator resources.
Using the tools your learned, trace your best design elements and combine them to make your final logo.
Copy and paste the wireframe logo you created onto new layers to create multiple copies. There are several different logo designs you must create. To begin with focus on making your design work well using only black and white, then move on to adding color to your designs
Black and white and grayscale versions
- black & white - positive: the standard B&W representation to be used on light colored backgrounds.
- black & white - negative: to be used on black or dark colored backgrounds.
Colored Versions
- create at least 5 unique color versions to test how different colors change the tone of your design.
When you are finished with your design you will export your final color copy as a PNG file.
- make sure you have hidden all non-essential layers in Illustrator before exporting
- in the final steps of exporting make sure to choose the resolution of 300 pixels/inch
Click here to view our Illustrator resources.
STEP 10: WRAPPER SKETCH TO SCALE

Sketch of Wrapper (drawn to scale)
- measure your package and decide on a wrapper size (imagine how we will print out the wrapper you design and glue it on to your package, what size does your wrapper need to be?)
- then create a scale drawing of your wrapper on white paper, you may need to tape/staple two pieces of paper together to accomodate your wrapper size
- draw on necessary guidelines, such as corners, to help guide your sketch
STEP 11: WRAPPER IN PHOTOSHOP
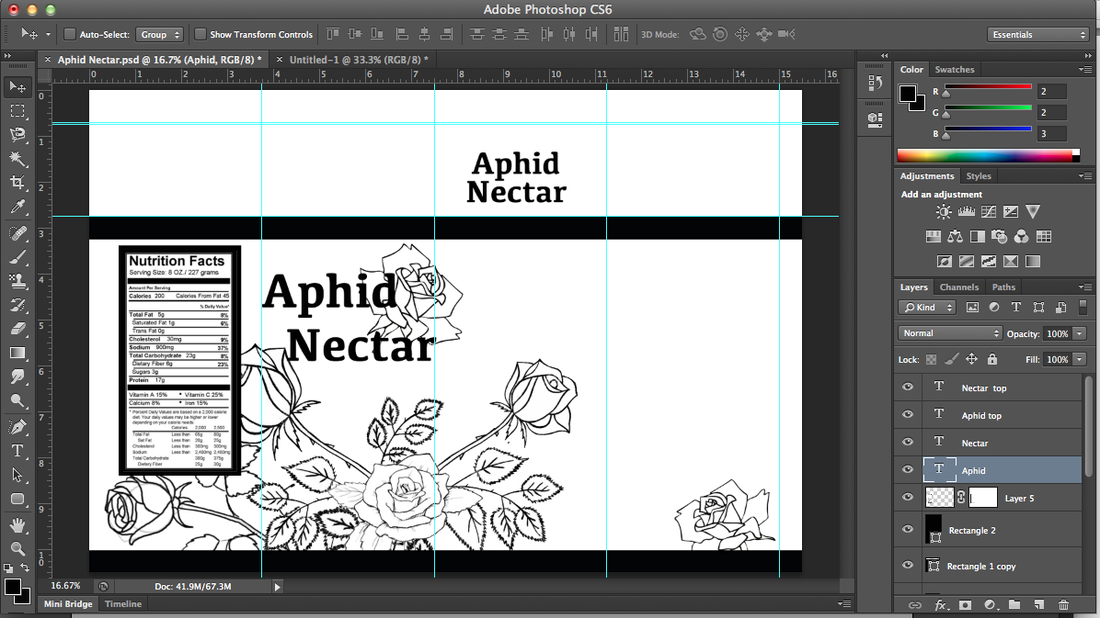
Create a new canvas in Photoshop to design your package wrapper
Click here to view our photoshop resources.
- your canvas should be the exact dimensions of your desired package wrapper
- set your resolution to 300 pixels/inch
- it may be helpful to turn on rulers
- it may also be helpful to add vertical and horizontal guides, especially for cubic packages (milk cartons etc.)
Click here to view our photoshop resources.
STEP 12: GLUE ON WRAPPER
STEP 13: EVALUATE YOUR WORK

